Daisy Piston Quickstart
Set up the Scalables Daisy Piston precision displacement pump from tubing assembly to a ready-to-run aliquoting application.
Setup, Priming, and Aliquoting
The Scalables Daisy Piston is a precision displacement pump built for accurate, repeatable dispensing. It offers 0.5% accuracy with under 0.03% CV at full dispense volume, and it is self-priming. This guide walks through everything shown in the Quickstart video, with additional detail.
Tubing Connections
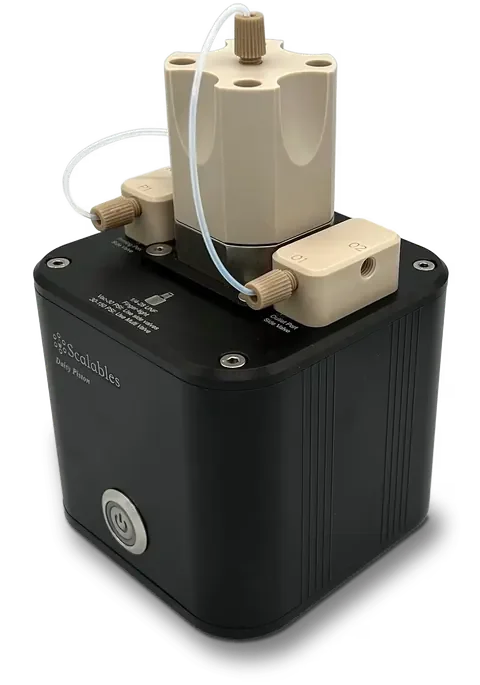
The Piston uses PTFE tubing assemblies, which resist a wide range of chemicals and are easy to clean and reuse. Connect one PTFE tubing assembly to the prime port (P1) and to the inlet port on the side of the pump. Then connect a second PTFE tubing assembly to the top of the pump and to the outlet port (O1).
For the second line, which ends in a dispensing needle, connect PTFE tubing with a fitting on one end to the prime port (P2). The outlet port (O2) uses a PTFE tubing assembly, which has the same ferrule and fitting as the others. To attach a dispensing needle, thread the fitting into a luer-to-quarter-28 adapter, then screw the needle’s luer lock onto the other end. Connect the PTFE tubing with the dispensing needle to the outlet port (O2).
Power and Computer Connection
Plug the power supply into the Daisy. Then connect the data cable: the micro USB end into the Daisy and the other end into a computer. Press the Power button on the Daisy.
Using the Daisy Controller Software
Open the Daisy Controller Software and click the Instrument Refresh button to detect the connected Daisy. The instrument list shows which group and index the Piston occupies.
The right panel includes the Home button, which must be used first to establish the piston’s starting position. The panel also shows the parameters available to control: piston speed (µl/min), aspirating volume, and dispensing volume. A Reverse Direction button lets you aspirate or dispense in the opposite orientation.
Home and Prime
Before running any application, home the pump. Then prime the tubing by aspirating and dispensing the full volume of the Piston. Repeat until liquid flows steadily and there is no trapped air in the lines.
Automated Aliquoting Example
To see the Piston in action, click Open and select the assay script piston_aliquoting. This example uses a 5 ml Piston. It aspirates the full 5 ml, then dispenses it in five 1 ml aliquots into microcentrifuge tubes, pausing 2 seconds before each dispense.
Run the script and the pump aspirates the full volume, then serially dispenses 1 ml into each tube. You can change the aliquot volume, the number of aliquots, and the pause time in the script to match your own application.
"""Daisy Piston Pump — Demo Assay
Homes the pump, aspirates a bulk volume, then dispenses it in aliquots.
Adjust ASPIRATE_VOLUME and ALIQUOT_VOLUME below to fit your application.
"""
import time

pump = self.my_interface.groups[0].inst[0]

ASPIRATE_VOLUME  = 5000    # ul — total volume to aspirate
ALIQUOT_VOLUME   = 1000    # ul — volume per dispense
NUM_ALIQUOTS     = int(ASPIRATE_VOLUME / ALIQUOT_VOLUME)

print("Homing pump...")
pump.home()
print("Homed.")

print("Aspirating...")
pump.aspirate(80000, ASPIRATE_VOLUME, wait=True)

print("Dispensing...")
for i in range(NUM_ALIQUOTS):
    time.sleep(2)   # time to move to the next tube before dispensing
pump.dispense(10000, ALIQUOT_VOLUME, wait=True)Cleaning After Use
After using the Piston, clean the tubing with water. Run a full-volume aspirate and dispense cycle. Then remove the inlet tubing from any liquid and repeat to empty the pump.
Considerations
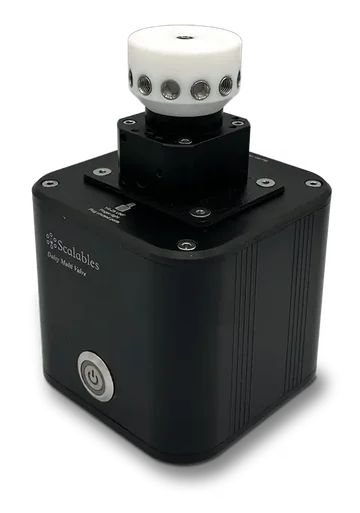
skip the solenoid valves on the sides of the Daisy Piston and use a Daisy Rotary Valve instead.
 Daisy Rotary Valve →